
How to Prime a Vape Coil for the First Time
Priming your vape coil is one of the most important steps when setting up a new vape device. If you skip or rush this process, you risk getting dry hits, burning the coil, and ruining the entire vaping experience. Knowing how to prime a vape coil the right way ensures optimal performance, better flavor, and longer coil life. Whether you’re new to vaping or switching to a new tank, this guide will walk you through everything you need to know.
Why Priming a Vape Coil Matters
Priming isn’t just a good practice—it’s essential. Every vape coil contains cotton that absorbs your e-liquid. When that cotton is dry and you start vaping, the heat from the coil burns the cotton instead of vaporizing the liquid. That’s what causes that awful burnt taste no vaper ever wants to experience.
A well-primed coil lets your e-liquid soak deep into the wicking material. This helps deliver smooth flavor and thick vapor right from the start.
What You Need Before You Prime
Before we talk about how to prime a vape coil, make sure you have a few things ready:
- Your vape mod or device
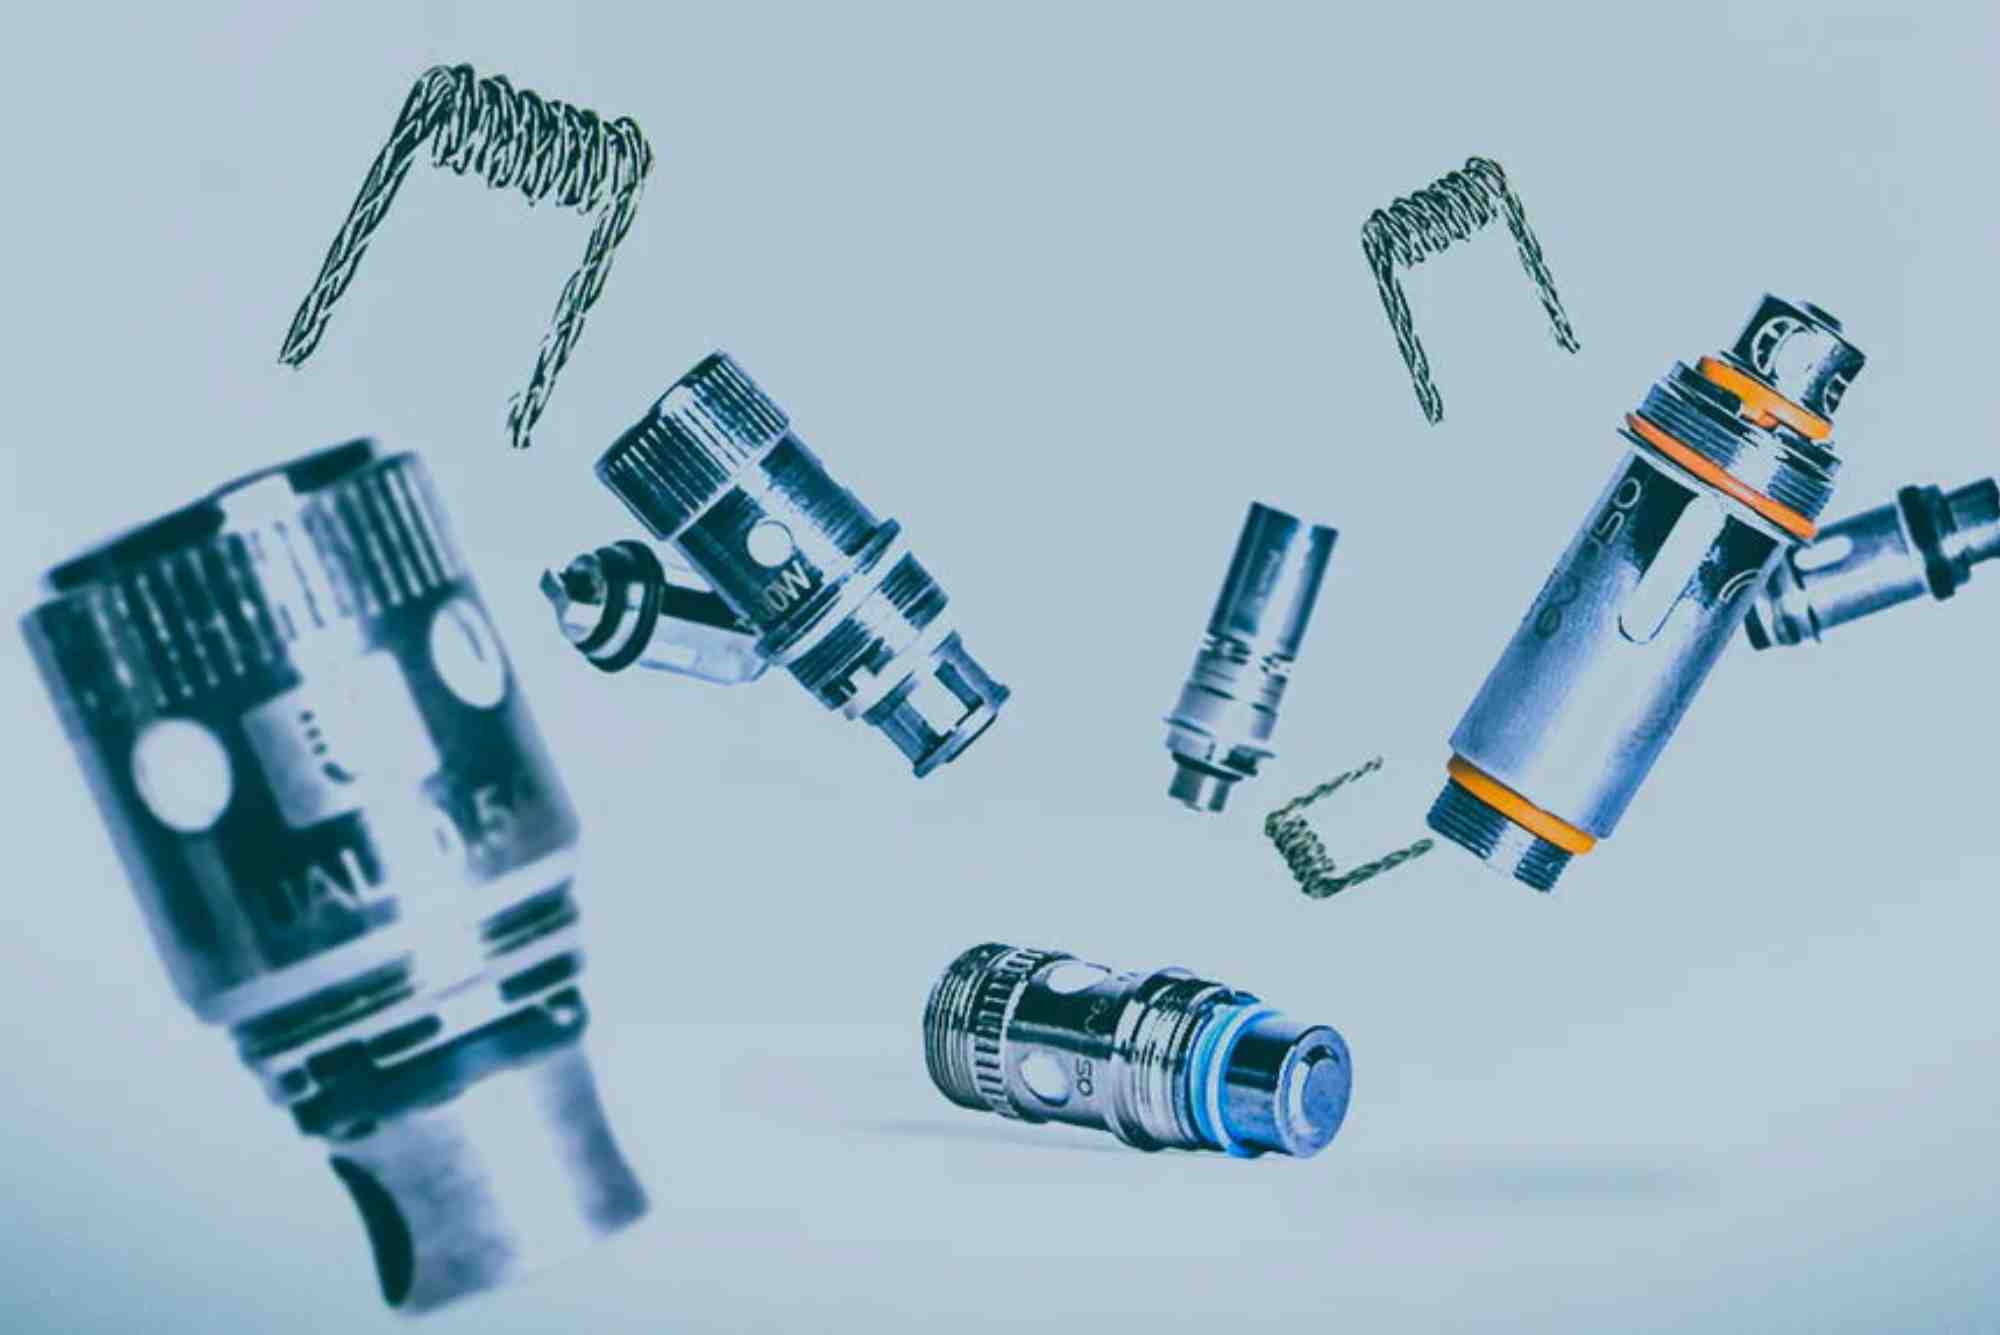
- A new coil
- Your preferred e-liquid
- Some tissues or paper towels
- A little patience (yes, it matters)
Step-by-Step Guide to Prime a Vape Coil
Soak the Cotton with E-liquid
Start by removing the coil from the tank packaging. Take your e-liquid and drip a few drops directly into the exposed cotton ports on the coil. These are usually located around the side of the coil and at the top. You’ll notice the cotton absorb the liquid quickly. Apply the liquid slowly—this helps it reach the inner layers.
Be careful not to flood the coil. Add just enough to see that it’s damp, not soaked. Oversaturating can lead to gurgling or leaks.
Insert the Coil into the Tank
Once you’ve pre-saturated the cotton, install the coil into your tank according to the manufacturer’s instructions. Make sure it’s tightened properly but not overly forced.
Fill the Tank with E-liquid
After inserting the coil, fill the tank with your e-liquid. Try to keep air bubbles out while filling, as they can interfere with proper priming. Allow the tank to sit upright.
Let It Sit for 10–15 Minutes
This part is crucial. Even though you’ve dripped e-liquid onto the coil manually, the tank still needs to sit for about 10–15 minutes. This allows the rest of the cotton inside the coil to fully absorb the liquid. Rushing this step can still lead to dry hits.
Start with a Lower Wattage
When you’re ready to vape, lower your wattage setting (if your device allows). This helps the coil ease into action without burning. After a few light puffs at a lower wattage, slowly increase to your preferred level.
Signs Your Coil Is Fully Primed
You’ll know your vape coil is properly primed if:
- You get rich flavor with no burnt taste
- The vapor feels smooth, not harsh
- There’s no dry cotton smell when taking the first puff
If anything tastes off, it’s best to wait a little longer before hitting it again.
What Happens If You Don’t Prime Your Vape Coil?
Skipping the priming process may result in:
- Burnt taste
- Damaged coil
- Reduced coil lifespan
- Wasted e-liquid
Once the coil is burnt, there’s no going back. You’ll have to replace it. That’s why priming is worth the extra time.
How Often Should You Prime a Vape Coil?
You only need to prime a coil when it’s brand new or has been completely dry for a while. For regular daily use, there’s no need to re-prime unless you’re switching e-liquid flavors or changing to a new tank.
Mistakes to Avoid When Priming a Coil
- Don’t skip the wait time. Even a few minutes of patience can make a huge difference.
- Don’t oversaturate the coil. Flooding can cause spit-back.
- Don’t start at high wattage. This can scorch the cotton instantly.
- Don’t use e-liquids that are too thick for your coil type. High VG liquids may require longer priming.
Best Practices for Longer Coil Life
Even after priming your vape coil properly, maintenance is key to keeping it running well. Always keep your tank filled above the minimum line. Avoid chain vaping, which can dry out the cotton. Clean your tank regularly and choose the right e-liquid ratio (like 70/30 VG/PG) for your coil’s resistance.
FAQs about Priming Vape Coils
What does it mean to prime a vape coil?
Priming a vape coil means manually saturating the coil’s cotton with e-liquid before use. This ensures the cotton is wet enough to vaporize liquid and prevents burning.
How long should I let my coil soak before using it?
Let your coil soak for 10–15 minutes after filling the tank. This gives the cotton time to fully absorb the e-liquid.
Can I vape immediately after priming the coil?
It’s best to wait at least 10 minutes. Starting too early can still cause a burnt hit. If your device has adjustable wattage, start low.
Do I need to prime pre-filled pod systems?
Most pre-filled pods come ready to use and don’t require priming. But if you’re using refillable pods, always allow time for soaking.
Why does my coil taste burnt even after priming?
This can happen if the cotton didn’t soak completely or if you started at too high a wattage. Try priming again or replacing the coil.
Can I clean and reuse a vape coil?
While some vapers rinse coils to extend life, results vary. Cleaning doesn’t always restore flavor and performance. Priming is still necessary after cleaning.
Expert Insight: Why Experienced Vapers Always Prime
Even seasoned vapers never skip coil priming. Over time, they develop a feel for how much e-liquid to apply and how long to wait. They also adjust wattage based on the coil type. It’s all about respecting the technology that powers a smoother vape.
For example, sub-ohm coils (under 1.0 ohm) need thicker liquid and may take longer to prime. Meanwhile, high-resistance coils for mouth-to-lung vaping need less time but still benefit from careful soaking.
Experienced users often say that taking the time to prime avoids 90% of coil issues they see in beginner setups.
Learning how to prime vape coil properly is one of the first skills every vaper should master. It protects your device, enhances your vaping experience, and saves you money by extending coil life. Whether you’re using a pod system, a sub-ohm tank, or a rebuildable coil, the principles of priming remain the same: soak, wait, and ease in.
Ready to upgrade your vape experience? Next time you replace your coil, use this guide—and taste the difference. For more vaping tips, guides, and product reviews, explore our full Vape Education Hub.


